Windows Installation Guide
Follow these steps to install CLUBCORE on your Windows machine.
Run the Installer
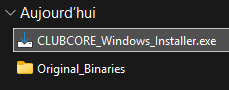
Double-click the downloaded Windows installer to begin the setup process.
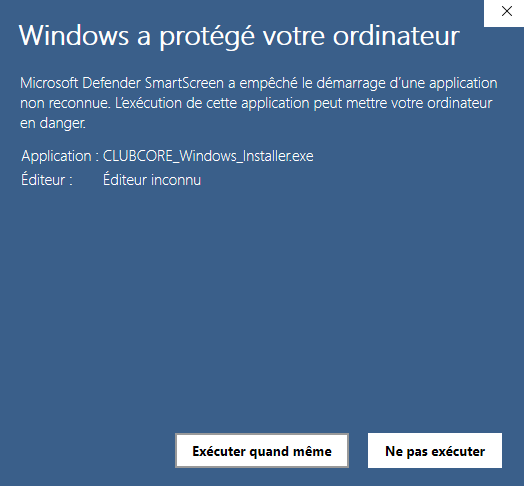
Windows SmartScreen Warning
If you see "Windows protected your PC", click on "More info" and then "Run anyway".
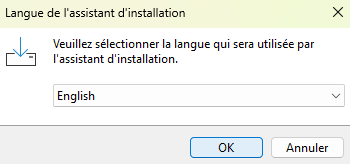
Select Language
Select your preferred language (English or French).
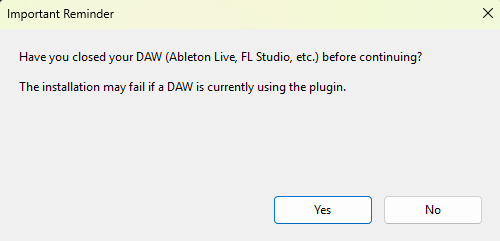
Close Your DAW
Close your DAW (Ableton Live, FL Studio, Cubase, etc.) before proceeding.
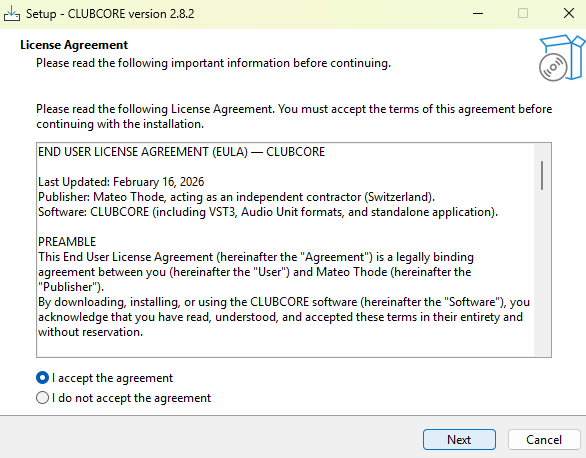
Accept the License Agreement
Read the License Agreement, check "I accept the agreement", and click Next.
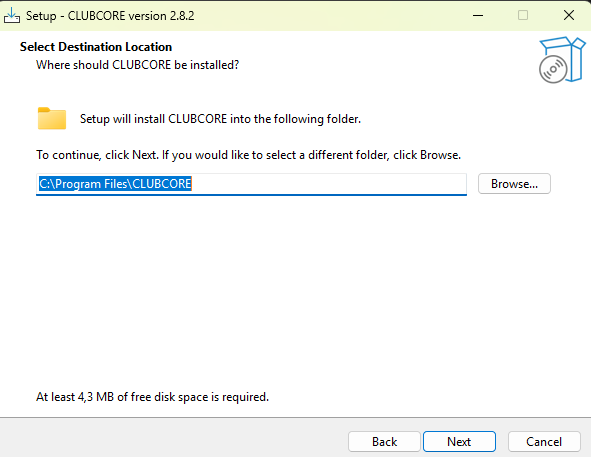
Destination Location
Select the destination location. Leave the default path if you are unsure.
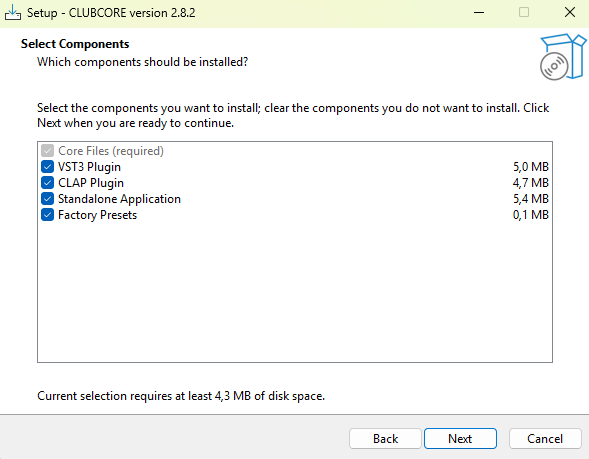
Select Plugin Formats
Select the plugin formats to install. We recommend leaving all formats checked.
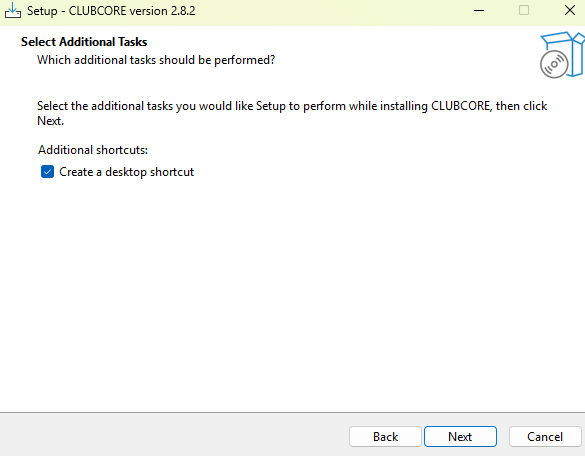
Desktop Shortcut
Choose if you want to create a desktop shortcut for the Standalone version.
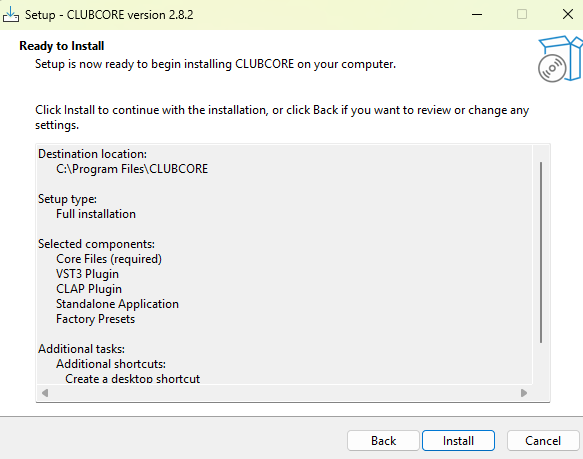
Review & Install
Review your installation settings and click "Install".
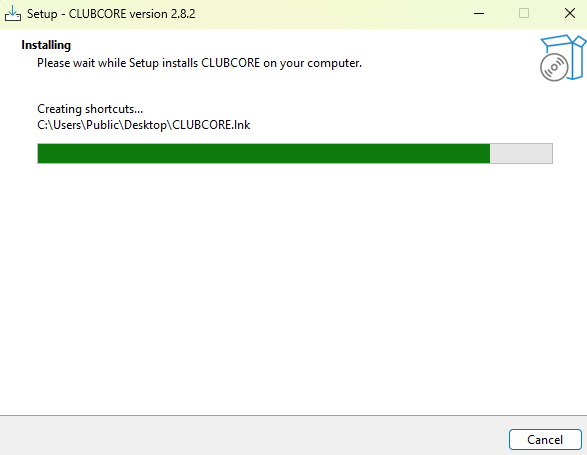
Installation in Progress
Please wait for the setup program to finish copying files.
Restart Your PC
Restart your PC. This is highly recommended to ensure CLUBCORE is detected by all your DAWs.
A restart is highly recommended after installation
This ensures all DAWs (FL Studio, Ableton, Cubase…) properly detect the newly installed plugin formats.
Installation Complete?
Now that CLUBCORE is ready on your PC, learn how to configure it for studio mastering or set it up for live DJ performances.
Discover Practical Use CasesStill having issues? Contact us at contact@clubcore.live